Project Guidelines
Using linear form (wire) and planar form (cardboard) create 1.5-2 ft individual linear, planar, and solid asymmetrical geometric forms in class. The project will need one shape for each form which can be anything created in the period of time designated, for each definition. Investigate potential textures to create contrasts in the individual forms and each form should have volume (height X width x depth). Then combine the 2 forms into a dynamic formal composition! Your forms should be abstract.
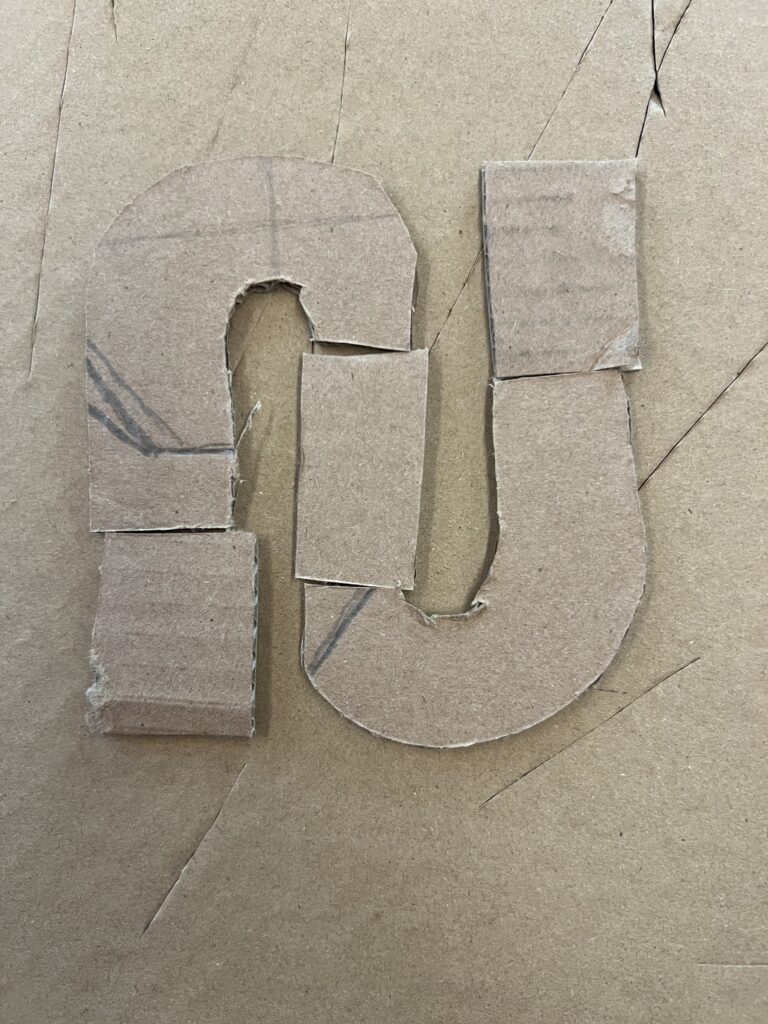
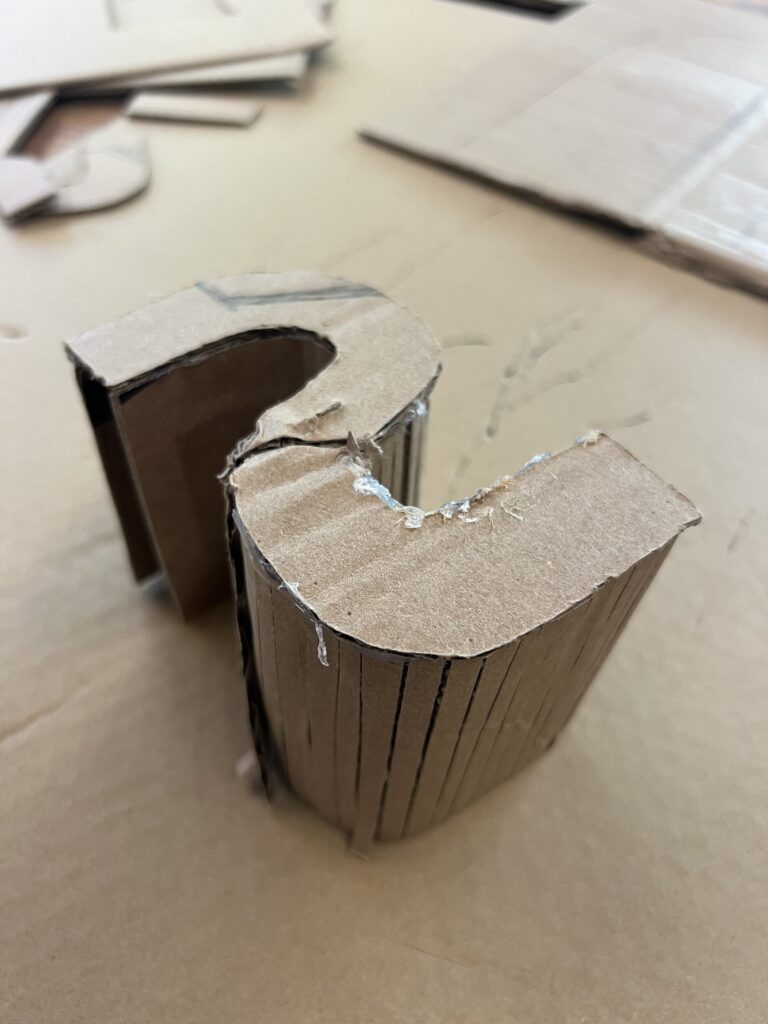
To start with this project, the first step was to make a maquette similar to how we did in the Tyvek suit project. I started thinking about how I could shape cardboard and knew I wanted to make something like in the picture above, as I liked how you could score lines in the cardboard to make curves. I made a 3D version of the letter ‘S’ in the photo on the right and was starting to like the way it was looking. I made another flat ‘S’ in the photo on the left to experiment with different ways I could distort the letter so it wouldn’t look like a standard letter shape.
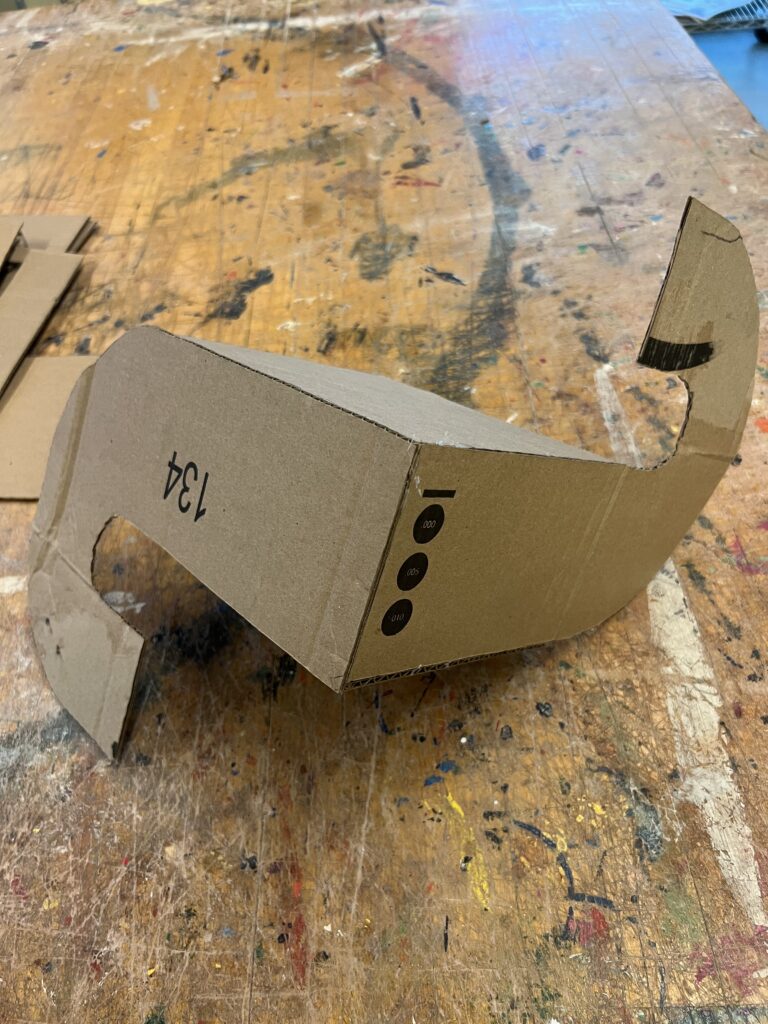
Finding The Form
After experimenting with my maquette and putting it in all sorts of shapes and directions, I found a shape that really caught my eye. I cut the ‘S’ down the middle and formed a 90-degree angle out of the letter almost as if I were making an optical illusion. Pictured on the left is the early development of the full-size cardboard form. I was planning on fully closing in this object and seeing how the edges connected to make an interesting shape.
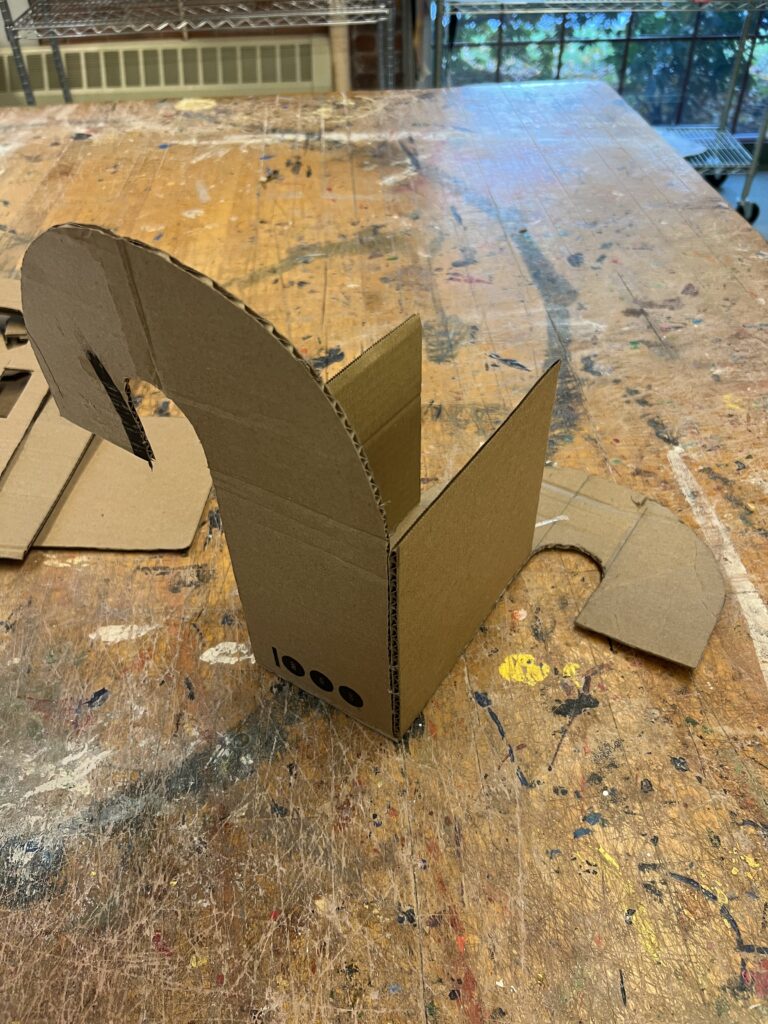
Here I got stuck on how exactly I was going to close my form. I knew I wanted the curve of the ‘S’ to be rounded like in the maquette, but I couldn’t figure out if it was going to look right or not. I started with the connecting walls of each ‘S’ and got some advice in critique on where to go from there. I was planning on making each curved section of the ‘S’ meet in the middle at the connecting piece.
I realized the only way to find out if it would work would be by making it, so I attempted at adding a curve to each side. I wanted all the sides to be matching heights but not sit at the same level since it is an oddly shaped object, and I liked the way it was coming along
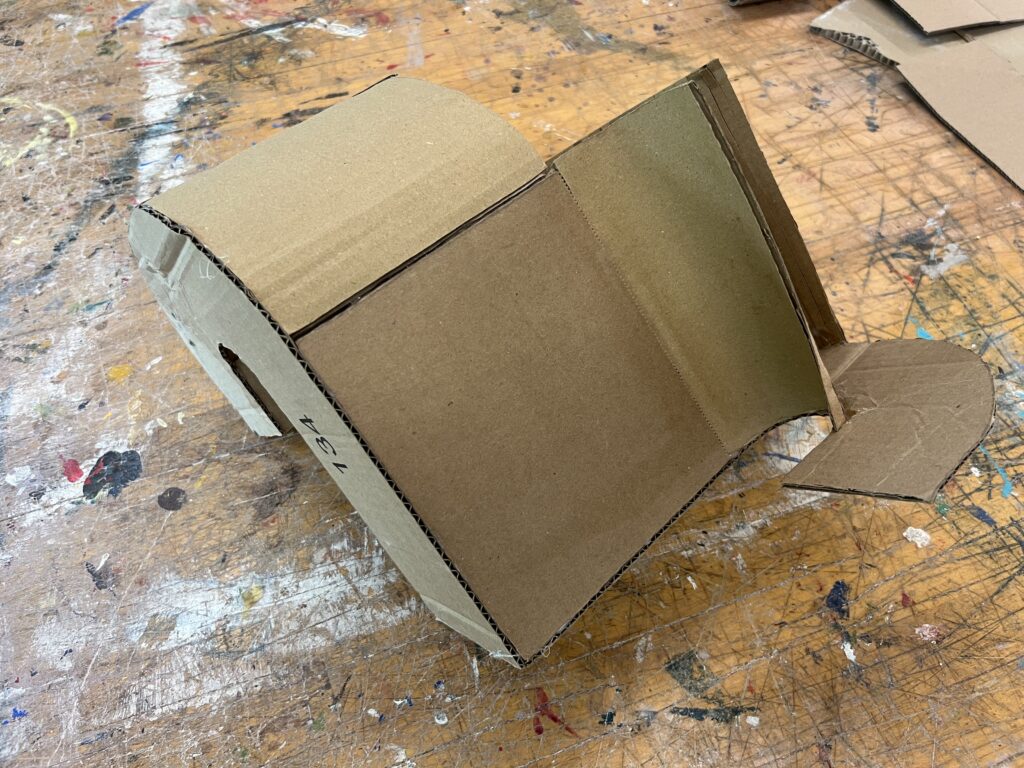
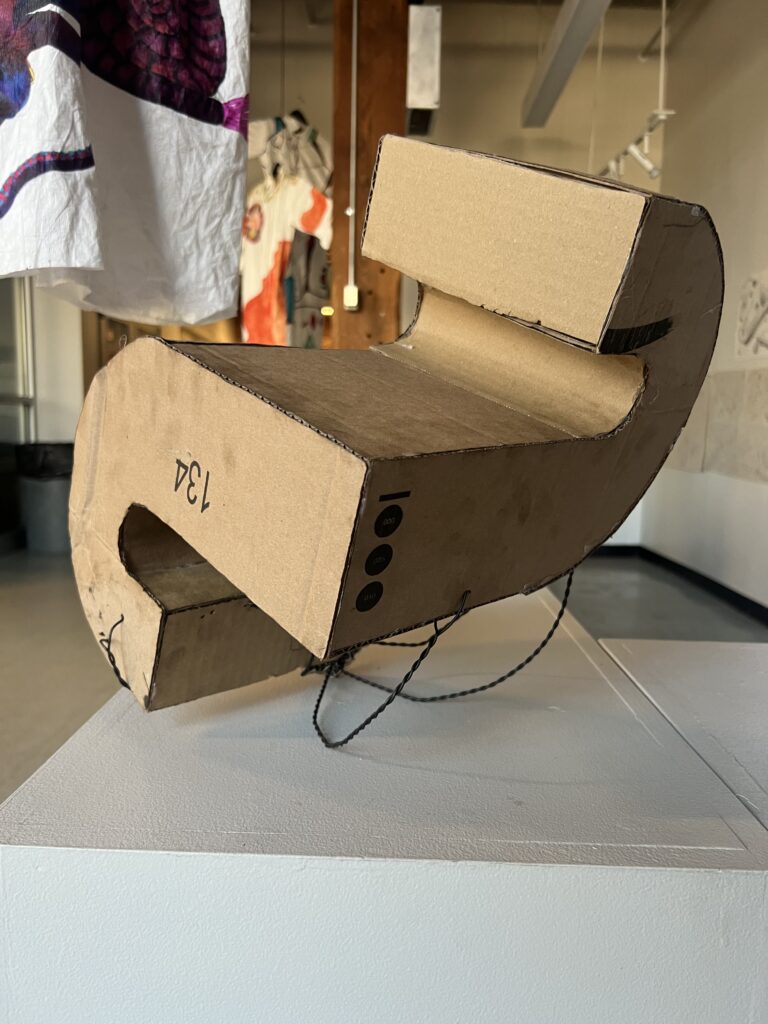
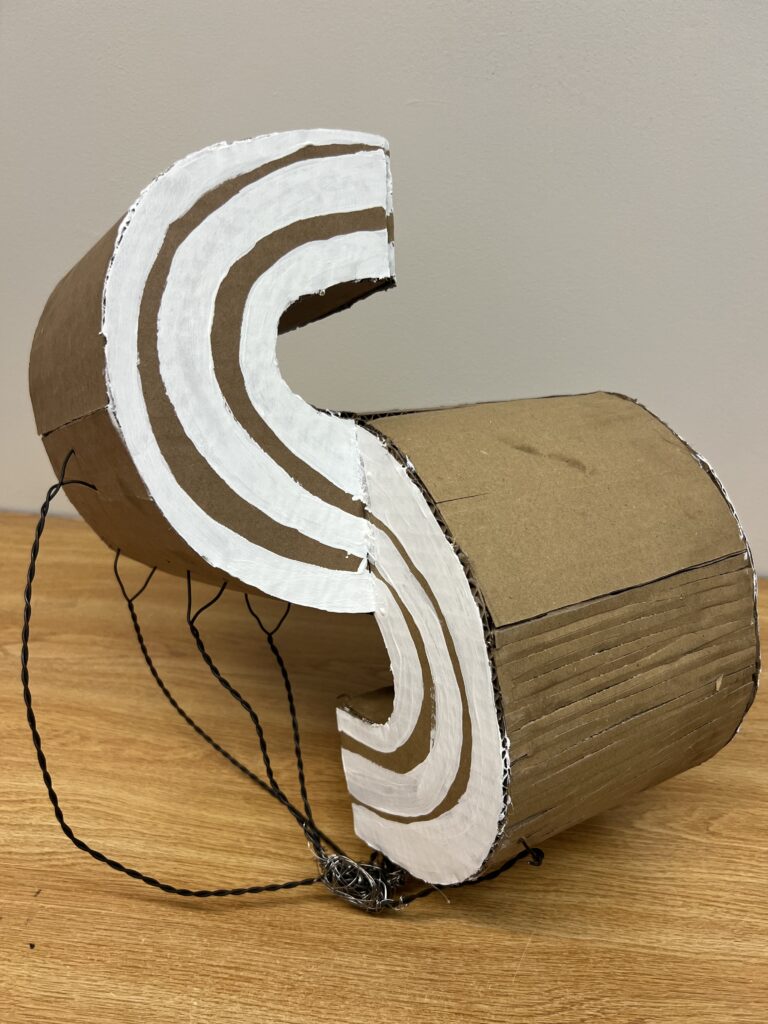
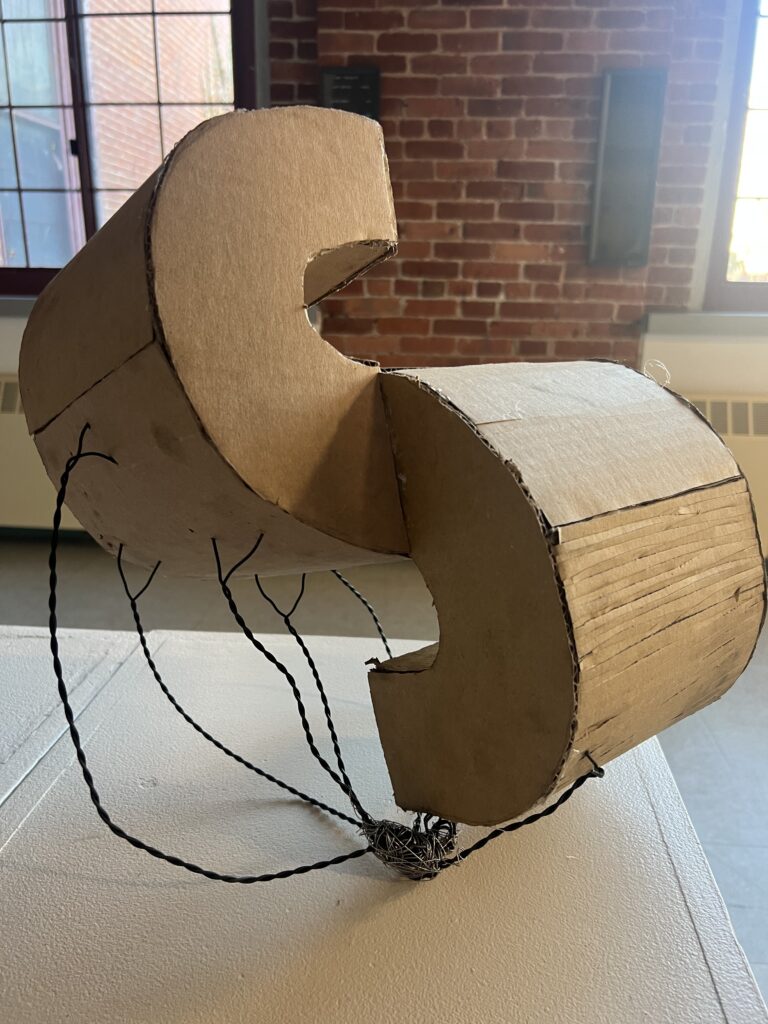
I finished the construction of the cardboard form, and I liked the way the shape came out. The blending of the 90-degree corner with the smooth curves at the end of each ‘S’ play off each other in a nice way. The gesture of the cardboard form makes your eye travel all around the form. Before I added the planar form of the wire, I had a hard time thinking of how I wanted to do incorporate it. One thing I knew I wanted to make it do was stand up on its own as in the photo on the left. I started this by making a box of wire for the cardboard form to sit on and made arms to support it.
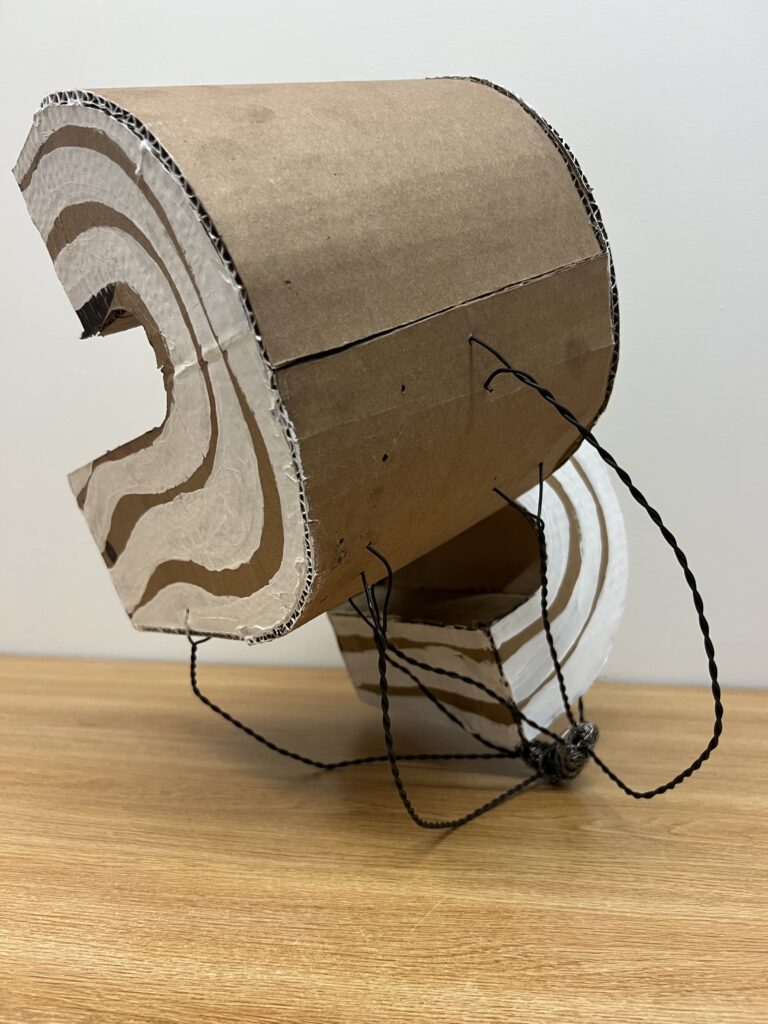
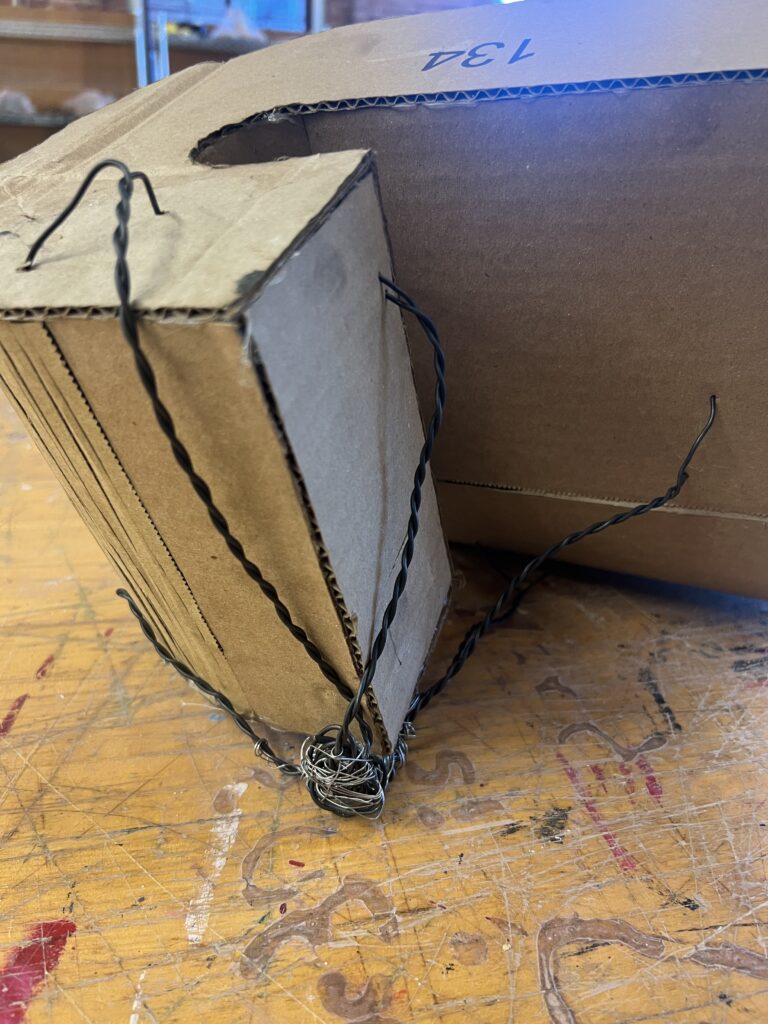
In the photo on the left it shows the cluster of wire I made for the arms to sit in. I twisted 2 wires together for the arms to add strength to hold up the cardboard form, but also to add a stronger visual element. In my mind it was made to look like roots growing and holding up the form. I punctured the wire through the cardboard to get the wire to support it more, but also add to the visual elements of the roots to make it look more cohesive with the cardboard.
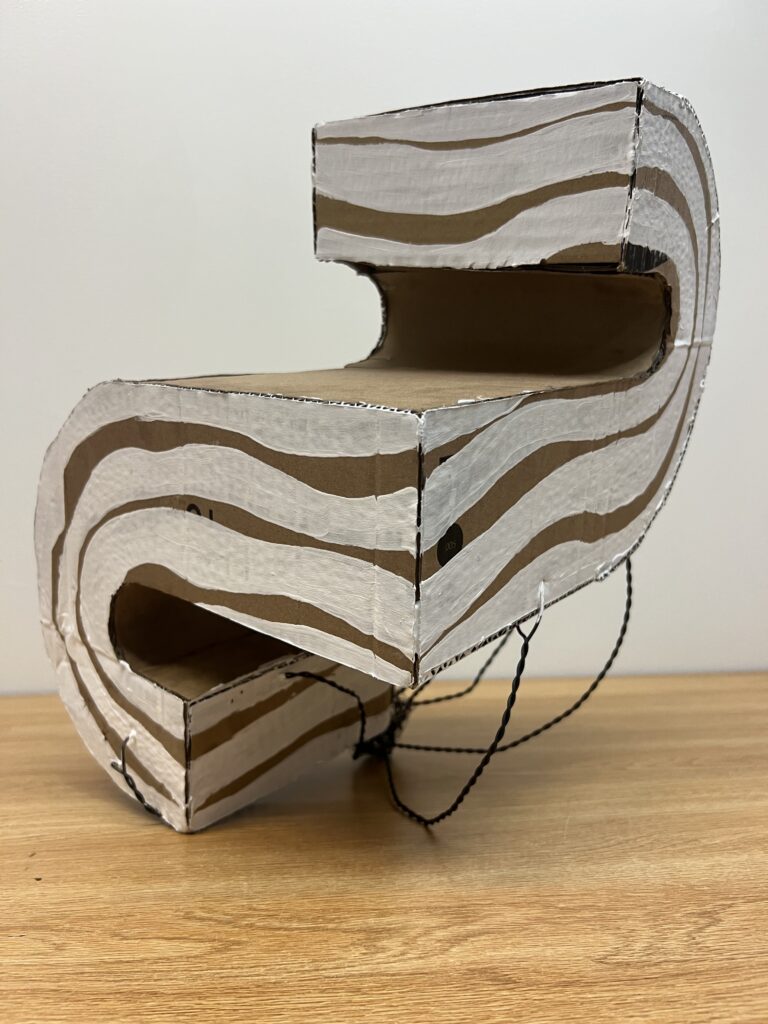
For the final step I had to paint my final piece. For this step I decided to paint lines along what I considered as the face of the object. My idea with this was to double down on the way the eye travels around the piece. The lines work for gesture and follow the shape of the cardboard. When viewing the cardboard from any angle you can see the white lines and it makes for almost an illusion. For example, the third photo is my favorite angle to look at the final piece from. It looks as if the top curve is floating on top of the bottom curve and there is nothing connecting them.